Together my third grade students and I investigated root vegetables, their parts, how they grow, and all the colors they can be.
The students watercolor painted the dirt and the sky as they created a horizon line. (Some students included little tunnels and such for insects.)
On separate papers they drew various root vegetables, taking special note of the shapes of the leaves and swerve of the roots. They colored them with colored pencil and outlined them with black pen. (I was initially inspired by tradition botanical drawing.)
They glued the vegetables on to their gardens- and as a special bonus we put a bit of glue along the bottom and brought our papers outside to add a little real dirt for texture and effect.
They came out beautiful!
Monday, May 31, 2010
Rotation Tessellation with Grayscale
My fifth graders worked really hard on these!
We made stencils for tessellations using ROTATION this year. I had much better success with these than I have in the past trying to do tessellation projects.
They carefully painted them in with black tempera using a small brush for the edge and larger brush to fill in the middle of each shape- it created an 'alice in wonderland'-like checker board as they went on.
Afterward we worked on mixing various grays.
To finish them off the students used toothpicks, q-tips, and the end of brushes to create designs on top of the black and grays.
Cats, Cats, Cats!
I have two versions of ways you can go about this project.
The cats also work on their own- the kids love to play with them and take them home after they cut them out and draw details them on them even if you don't have time to make a background for them.


The cats also work on their own- the kids love to play with them and take them home after they cut them out and draw details them on them even if you don't have time to make a background for them.
the body, head, ears, tail, legs
then I give them yellow and red tempera to mix into orange
(they can also use the back end of the brush to draw designs into the paint)
After they dry students outline them in black marker, add face details, and patterns.
Then cut them out!
One version I did was using shadows. They traced their cut out cats on black paper and made a shadow for their new friend.
I recently did a new version.
I cut up old book pages and newspaper.
The students glued them down to white paper to create a brick wall.
Then they painted over the collage with reds and browns to create brick.
Springtime Daffodils
Van Gogh Sunflowers
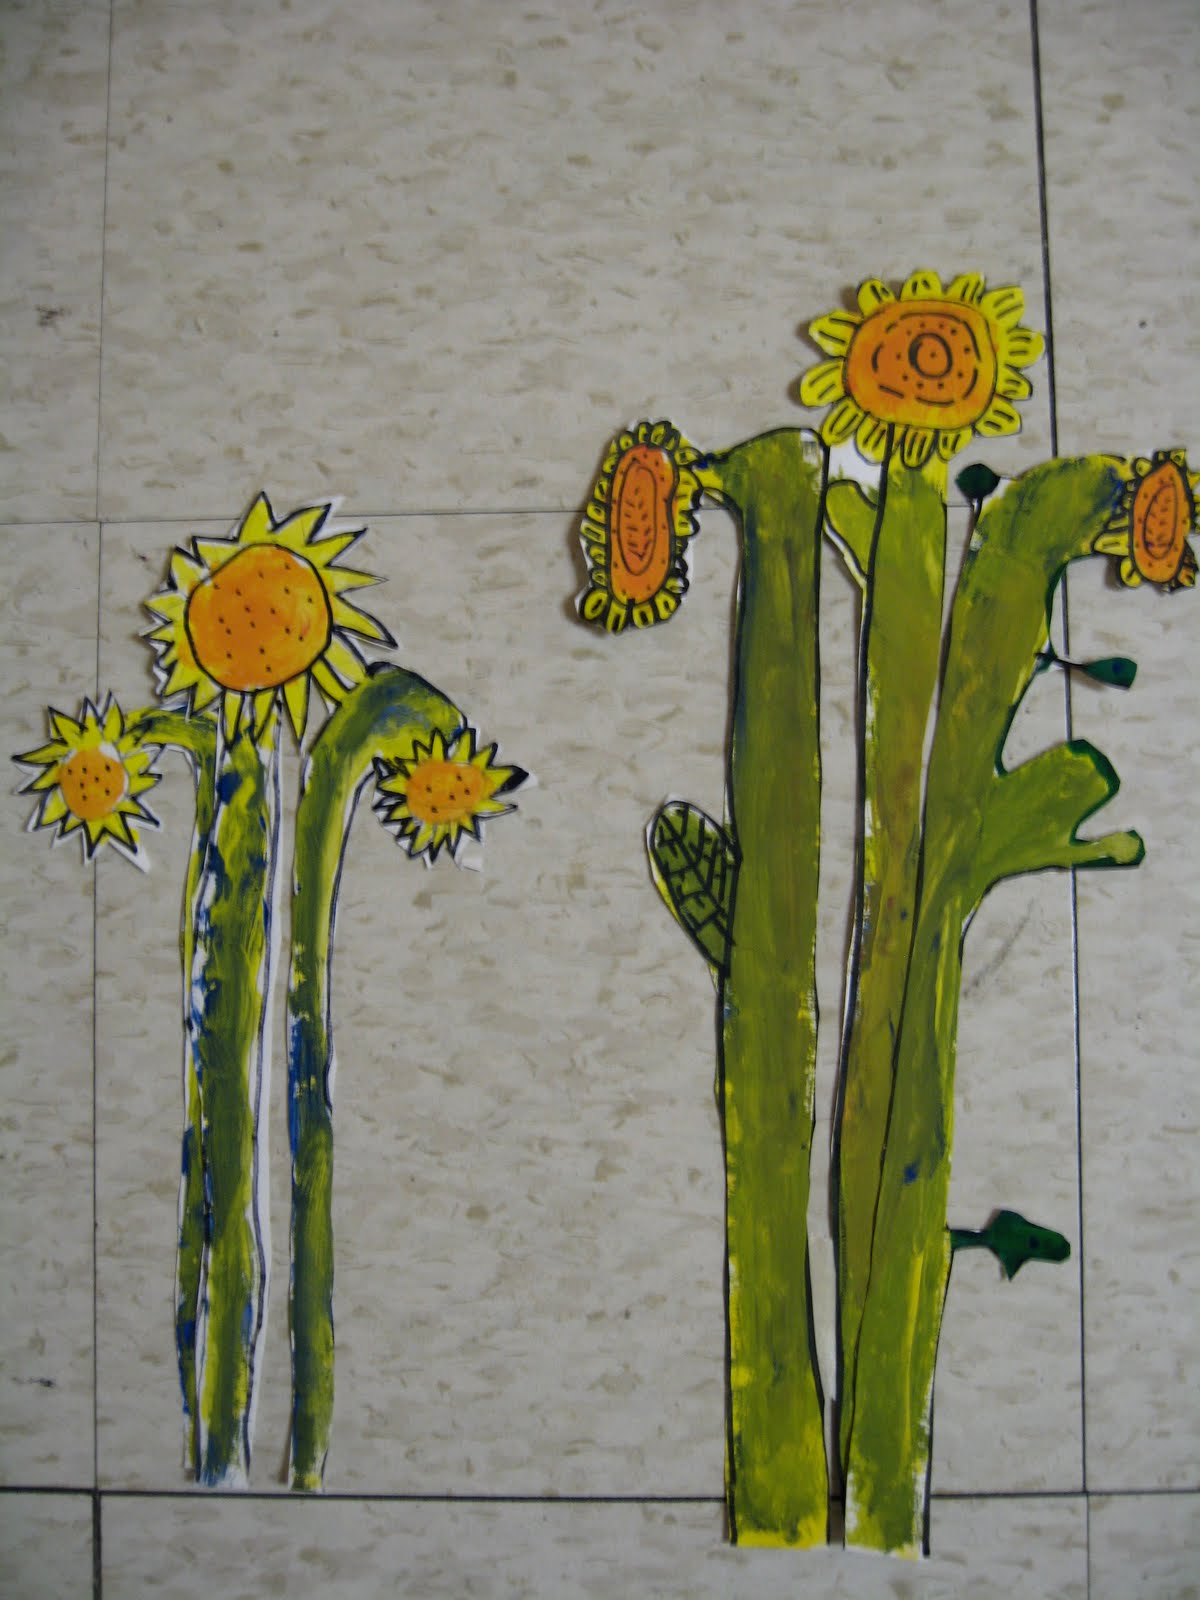
Van Gogh... Sunflowers... Symmetry... Shadows... I loved this project!
Step 1: Drawing and Painting the Sunflowers
The painting part of this project was also a color mixing lesson. The students painted the petals first- yellow tempera, then mixed orange with yellow and red for the middle of the flowers, then yellow and blue mixed for green stems. I had the kids mix the paint right on the paper.
Step 2: Trace the flowers with black sharpie and add on "Van Gogh - esque" details. Cut out the flowers and stems.
Step 3: Symmetrical Vases
The students cut out symmetrical shape vases and colored them with oil pastels to make a pattern. I taped the stems to them to make them look like the flowers were in the vase.
Step 4: Shadows
The 2nd graders had been studying shadows. We traced the flowers and vase and then filled in the outline with black crayon rubbing . We drew a table line and glued the flowers down a little to the side of the shadow to create the illusion of a shadow on the wall behind.
Step 5: Painting the table and wallpaper.
Step 1: Drawing and Painting the Sunflowers
The painting part of this project was also a color mixing lesson. The students painted the petals first- yellow tempera, then mixed orange with yellow and red for the middle of the flowers, then yellow and blue mixed for green stems. I had the kids mix the paint right on the paper.
Step 2: Trace the flowers with black sharpie and add on "Van Gogh - esque" details. Cut out the flowers and stems.
Step 3: Symmetrical Vases
The students cut out symmetrical shape vases and colored them with oil pastels to make a pattern. I taped the stems to them to make them look like the flowers were in the vase.
Step 4: Shadows
The 2nd graders had been studying shadows. We traced the flowers and vase and then filled in the outline with black crayon rubbing . We drew a table line and glued the flowers down a little to the side of the shadow to create the illusion of a shadow on the wall behind.
Step 5: Painting the table and wallpaper.
Subscribe to:
Posts (Atom)