Showing posts with label symmetry. Show all posts

Wednesday, October 31, 2012

compass rose designs on metal


This lesson corresponded to a lot of my student's studies in math and social studies which was great. 
They are currently studying fractions and by designing our compasses by thinking in terms of 1/4's and 1/8's this really established a strong connection. 
We discussed the purpose of a compass and a compass rose, where and why they are used, and how far back in history they have been used. 


Students had to accurately show the viewer where the cardinal and intermediate directions on their compass were by pointing to the 8 directions. The use of the corresponding letters (NEWS) was optional. 
They also had to use a ruler and demonstrate purposely use of texture.


Wednesday, March 28, 2012

Recycled Paper Quilt Squares


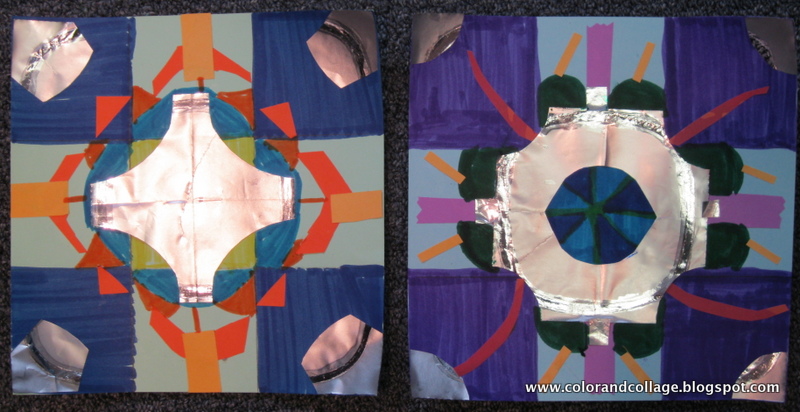
Fifth grade is combining a study of line symmetry, rotation symmetry, quilt blocks, and mandalas.

I photocopied the 9 block designs onto tag board paper and cut them down to 8x8 squares. 
We began by coloring the corners and center square.


 I made some templates of shapes that would work for tracing and cutting to make symmetrical designs. Some students made up their own. 
My students have been saving and collecting the tops of the cereals they have for breakfast. We used those (which are silver on the back!!!) and other scrap papers to create collaged quilt squares. 

These are some in progress. Hopefully each student will make 2, 1 to keep, 1 to become part of a larger paper quilt. 


Sunday, June 5, 2011

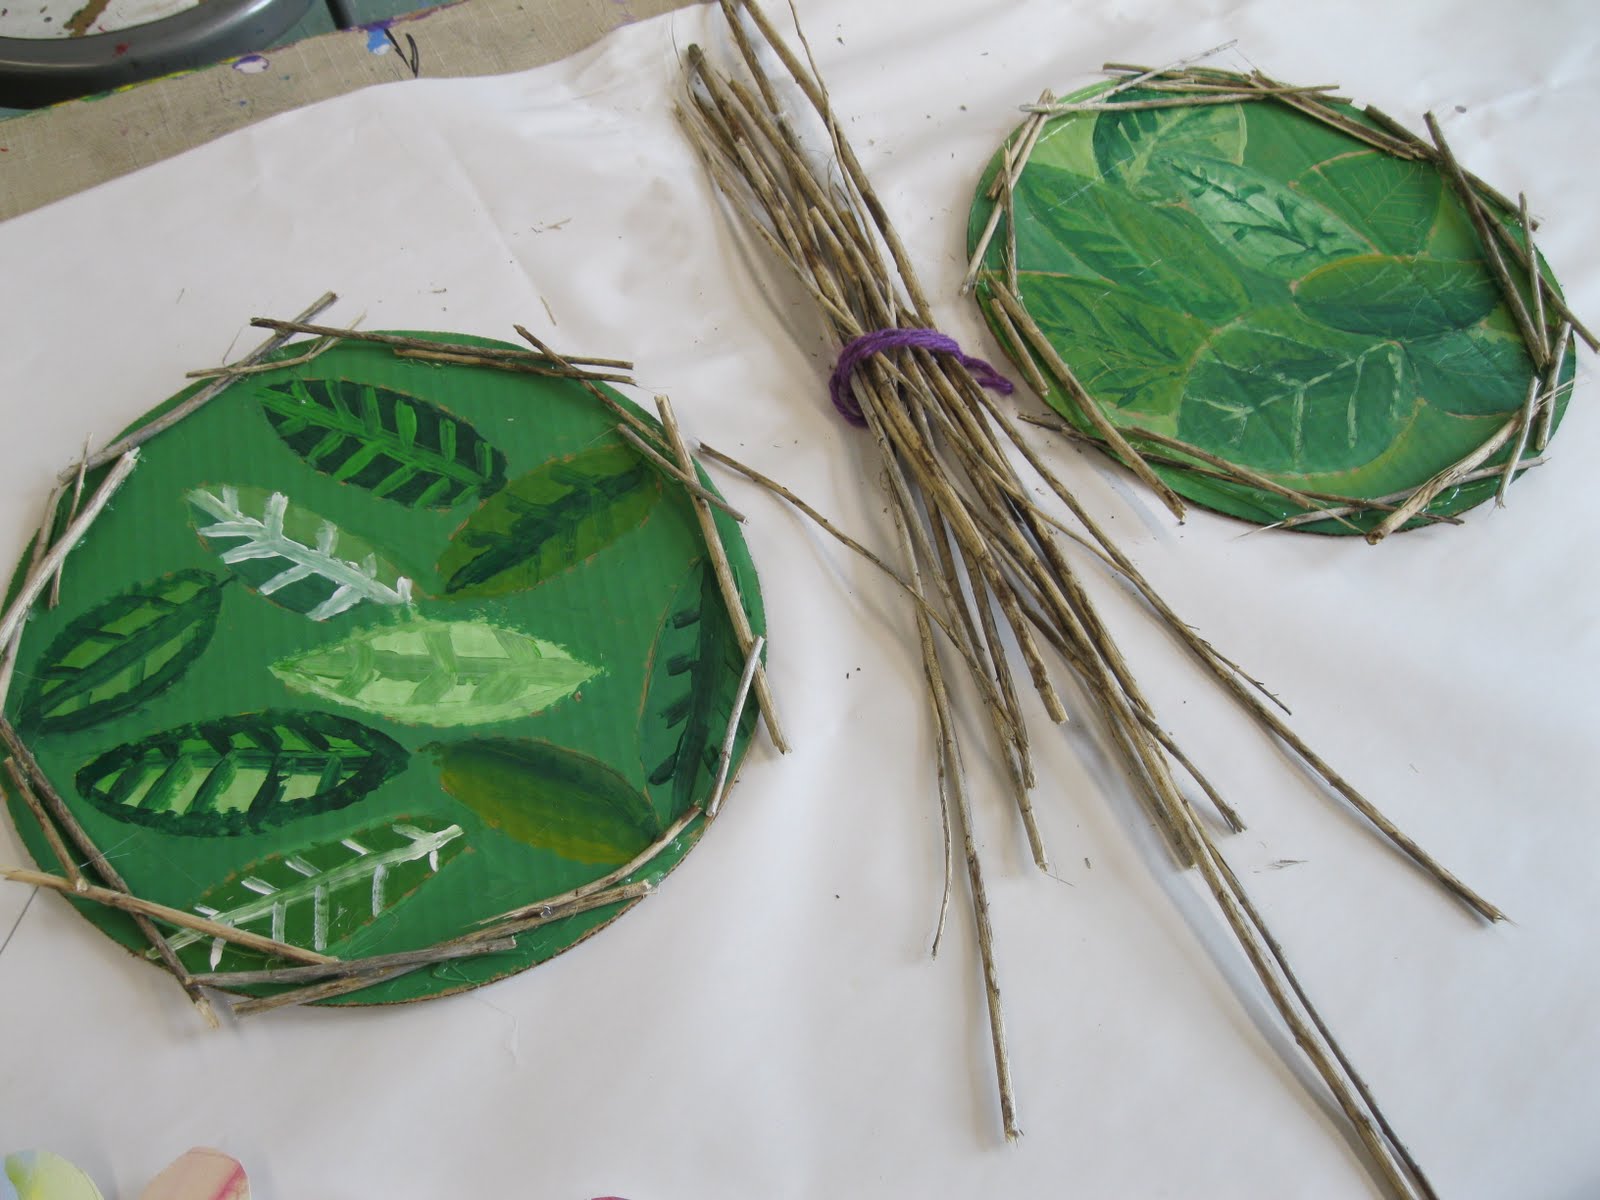
butterflies, leaves, & sticks


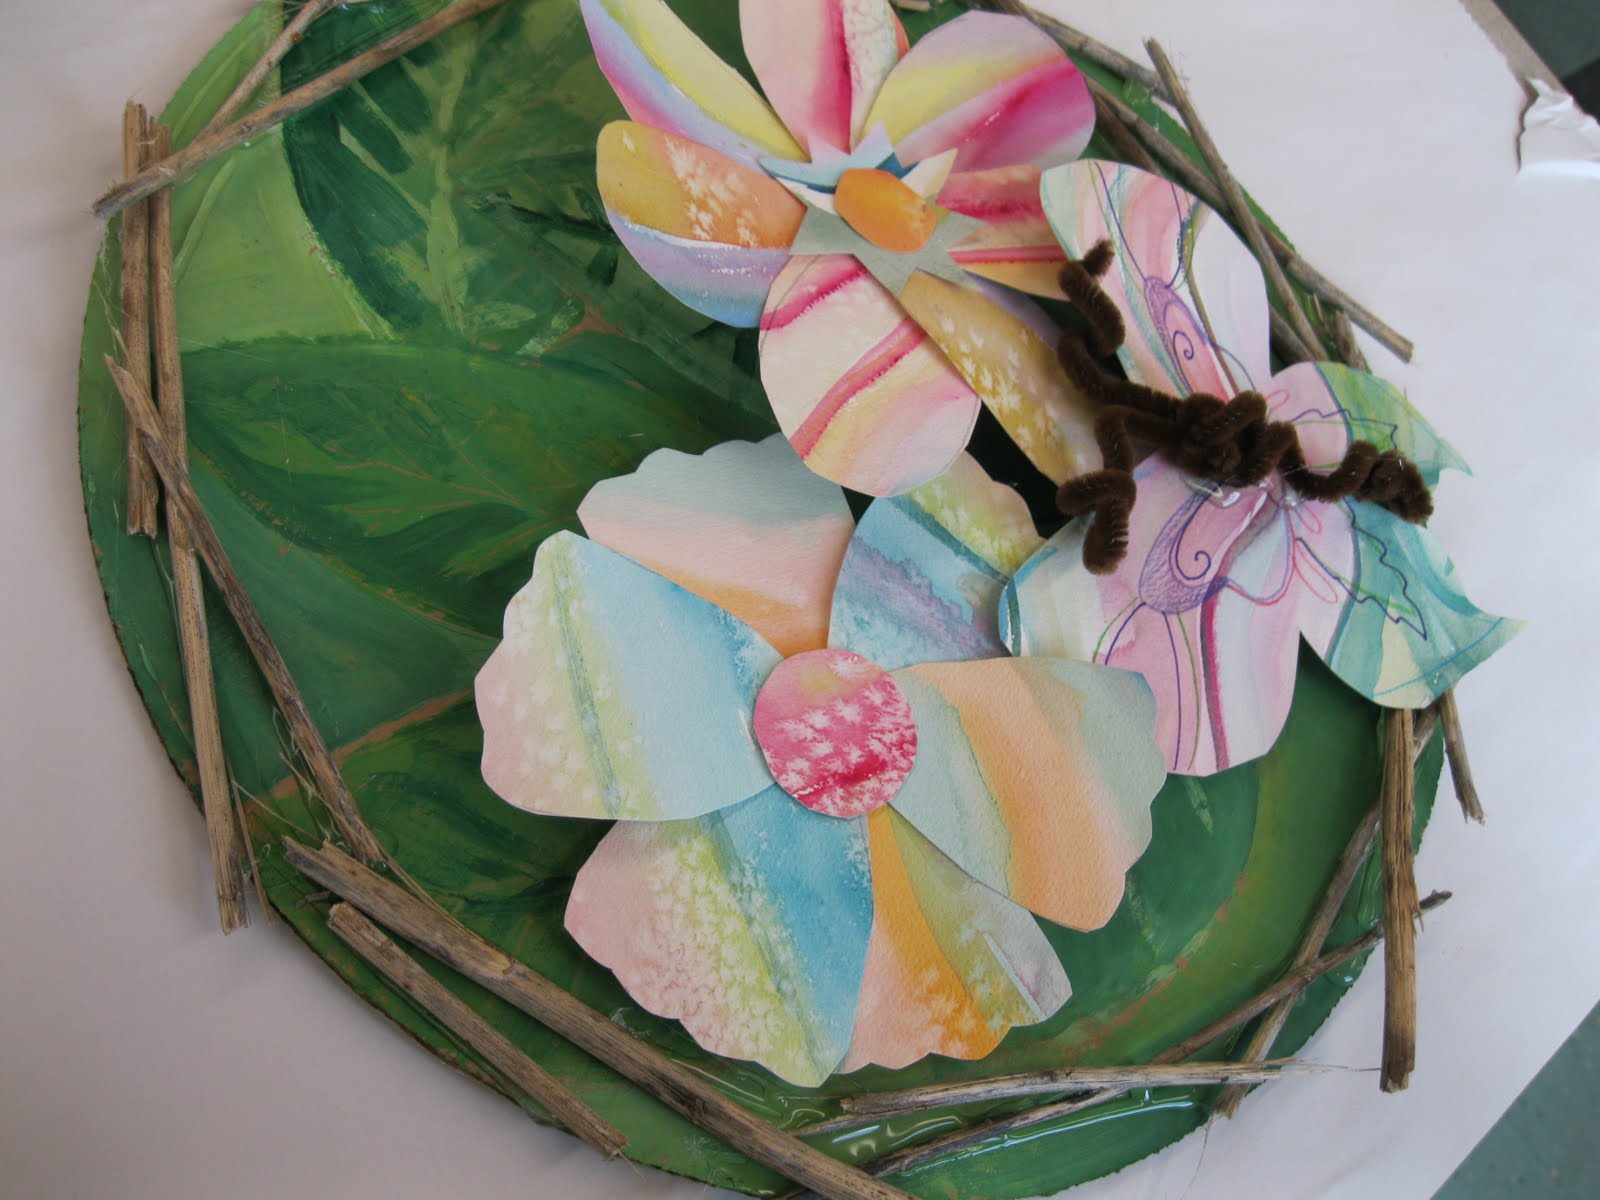
I did this project with a very small after-school class of 4th & 5th graders, however I am doing a different version with two classes of 25 second grade students. I will post the other version when we finish them up this week but I couldn't wait to post these beautiful pieces!


My girls have been working hard on practicing color mixing and learning about the color wheel, tertiary colors, analagous colors, etc. so I was so proud of them for jumping right into the acrylic leaf painting (their first try at acrylic paints!) and doing such a great job!


The girls could paint their watercolor paper with whatever colors they wished and we added a little salt. 
Then they designed stencils for the flowers petals and the butterfly wings. 
The butterfly wings were cut out of small square papers they painted with 
symmetrical designs in watercolor. 

I hot glued sticks around the edge of the leaf paintings:


Then I hot-glued the flowers and butterflies to the background using cardboard pieces 
to prop and pop them up.


Wednesday, March 16, 2011

Symmetry Unit

I am concluding my Symmetry unit with second grade right now. I am loving the final project we're working on. It isn't finished yet but I thought I would share where we're at. 

Lesson 1: This goes with along with the fun book "Flyaway Katie" by Polly Dunbar. It has fantastic illustrations and inspired this lesson for me. 
Each student folded their paper in half and drew a person or creature in the middle with pencil. 
I came around and dotted everyone's paper with yellow, orange, and red tempera- which also doubled as a color mixing experiement. Then everyone squished their paper together to create paint blot symmetry.
Day two students drew around the dried paint to create wing shapes. Using marker we added lots of details inspired by the book illustrations.

Lesson 2: Symmetrical masks with Tiki inspiration
Students drew with white and black crayon to begin with. 
I did this as a verbal follow-along lesson to begin with. 
I would say "Add two wavy lines to one side, so four lines total.", 
"Add three squares, 6 squares total.", etc.
Then the students folded the paper in half, cut out a mouth shape, cut around the face, and added marker. 

Lesson 3: Symmetrical Vase collages ... soon to hold DAFFODILS!
Students used their expertise in symmetry to cut vase shapes. 
(sidenote: I found a ton of great picture examples of symmetrical vase/lamp/bowl objects in the 
Anthropologie catalog that is currently out.)
I decided this would be a great project to make use of all the painted scraps I hoard when they are too pretty to toss in the recycle bin. The students collaged the vases with horizontal strips of scrap painted papers. 
Next week- Daffodils will be added! Stay tuned!


Monday, May 31, 2010

Van Gogh Sunflowers

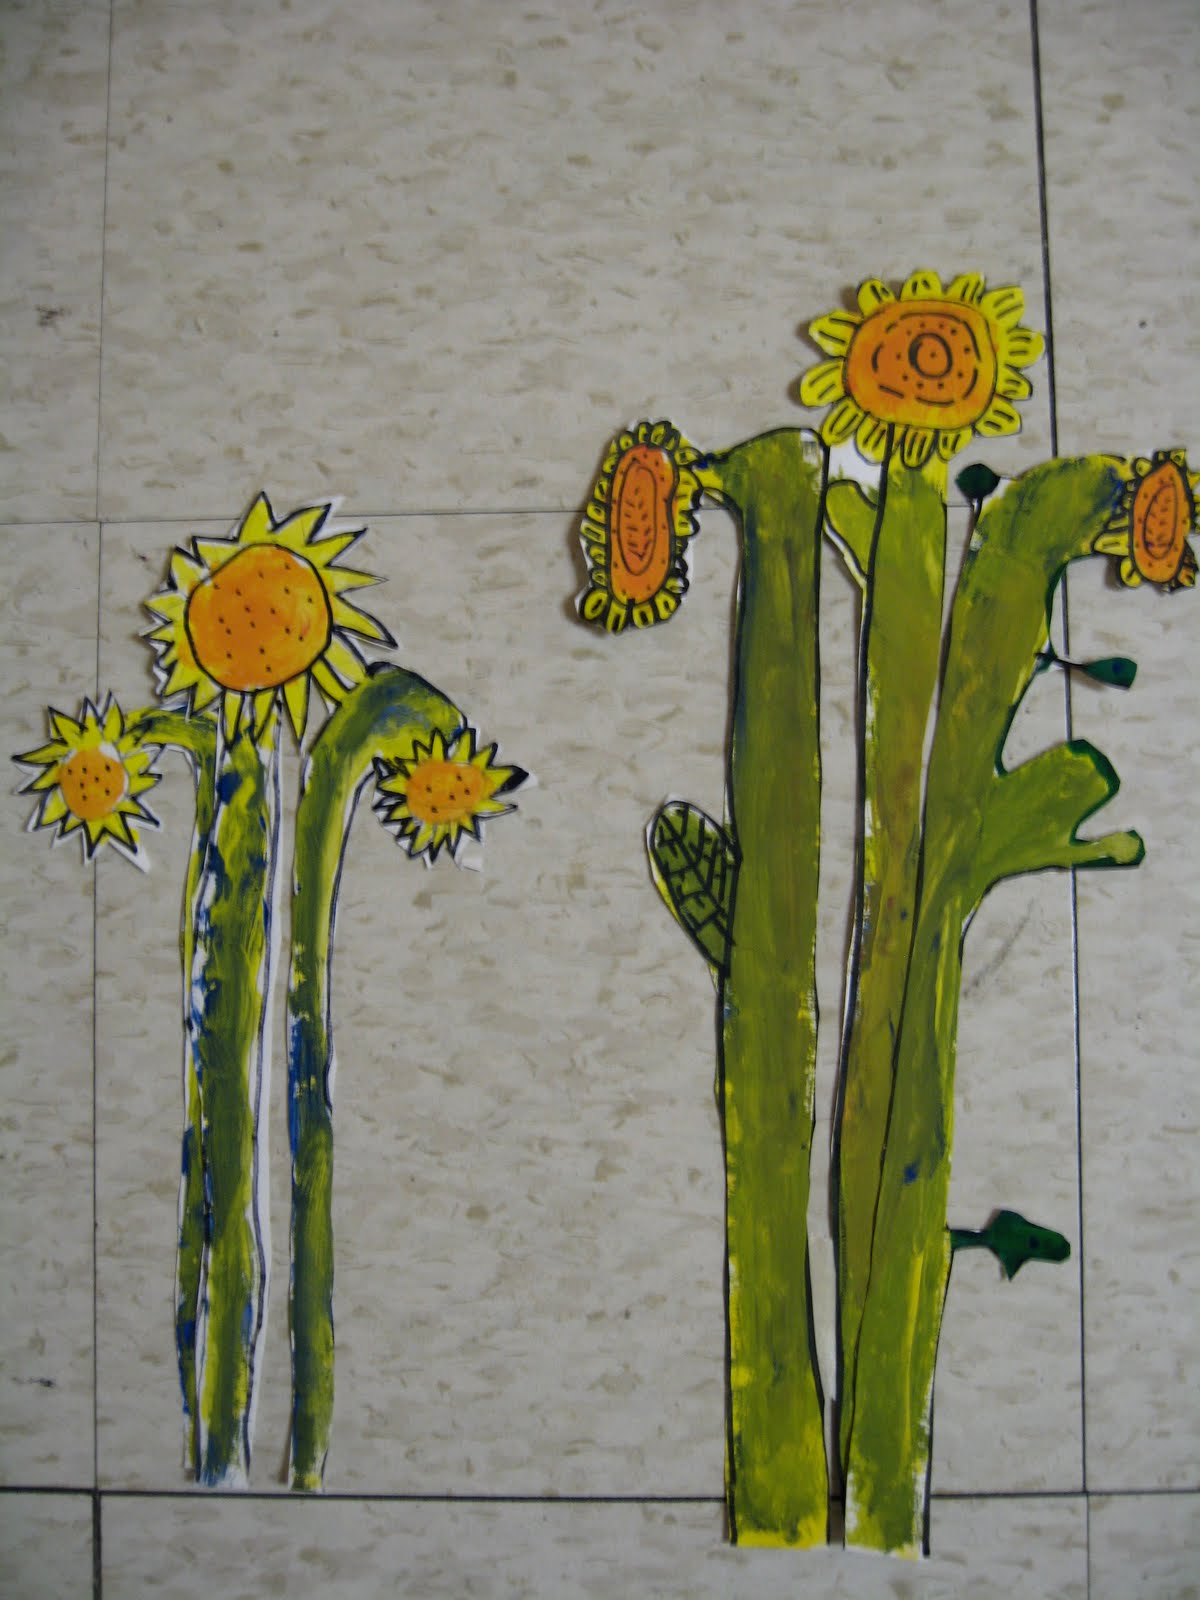
Van Gogh... Sunflowers... Symmetry... Shadows... I loved this project!


Step 1: Drawing and Painting the Sunflowers
The painting part of this project was also a color mixing lesson. The students painted the petals first- yellow tempera, then mixed orange with yellow and red for the middle of the flowers, then yellow and blue mixed for green stems.  I had the kids mix the paint right on the paper.

Step 2: Trace the flowers with black sharpie and add on "Van Gogh - esque" details.  Cut out the flowers and stems.


Step 3: Symmetrical Vases
The students cut out symmetrical shape vases and colored them with oil pastels to make a pattern.  I taped the stems to them to make them look like the flowers were in the vase.


Step 4: Shadows
The 2nd graders had been studying shadows.  We traced the flowers and vase and then filled in the outline with black crayon rubbing .  We drew a table line and glued the flowers down a little to the side of the shadow to create the illusion of a shadow on the wall behind.

Step 5: Painting the table and wallpaper.