I posted a few photos of the first grade name-tags that we made for
I wanted to explain how I ran the art activities for our Art Showcase and Activity Night though.
I work at museums and have been hired at libraries and other public places to organize and facilitate drop-in activities for a range of ages and families. Needless to say I've squeaked out most of the kinks by now and know what works when it comes to planning, organizing, and facilitating.
My theme was Earth Day and recycling,
because we don't have a very large communal space yet I organized
3 activities in 3 different classrooms:
1-Planting and Transforming medium size plastic containers (cream cheese, margarine, etc.- I also collected the empty 'wipes' containers from around the school and cut them in half) into planters.
I ordered colored
masking tape and families ripped off and cut the colored tape to cover their plastic container. I had poked holes in the bottoms of the containers ahead of time.
Then they got to plant a flowering plant and take it home!
This was very popular.
(I don't know why the masking tape has bad reviews on Dick Blick- I think it is a great product for decorating odd surfaces when you don't want to use glue or paint.)
(This is my amazingly patient and enthusiastic fiance helping!)
2-Newspaper Hats! ... so simple - and the easiest material to get a hold of-- the families had the BEST time in here and made amazing creations!
In addition to
folding the hats most participants made things like paper feathers and flowers and other fun things to attach with glue stick or tape.
again, SO simple and SO much fun!
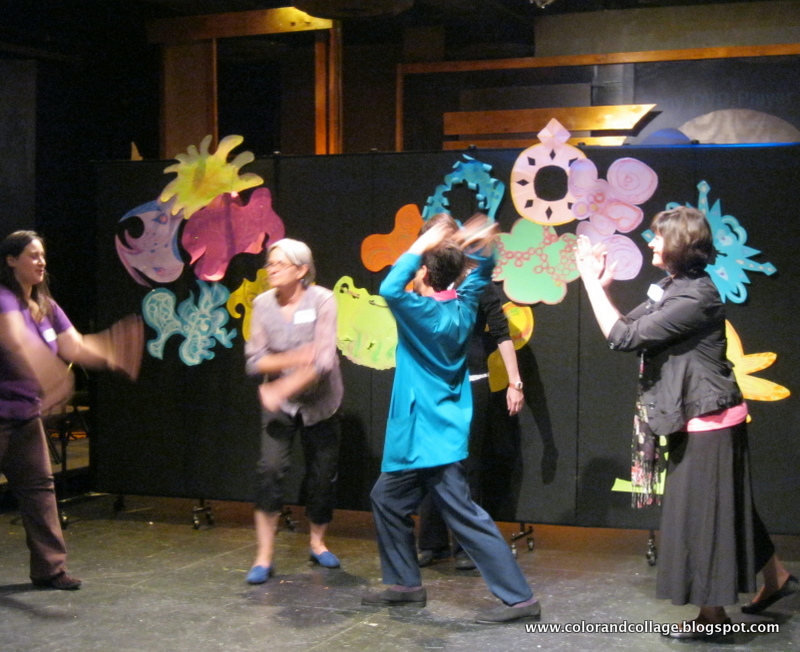
3- Recycled Paper Garden- A group project where I put all of our scraps and collected recycled papers out so participants could make things for the garden that we attached to large boards to create 3-d murals out of recycled materials. Most people made flowers and insects but there were some other fun things added as well. I am not quite finished putting this all together but have included a peak.
I had a long table with all of the scraps/papers organized by color.
On the work tables there were plates of elmers glue with craft swabs, scissors, and pencils.
I also brought in some pipe cleaners and pom poms.
We attached with push pins and then I hot glued them the next day.
How do I go about doing this?
1. Think about the main idea and goal that you want the participants to get from the experience.
2. Do you want the product to be a take a way or a collaboration that remains?
3. What materials do the artists need- which materials do they all need and which ones will they make choices to use? Which materials do they need at the table at all times?
Which materials are the special ones and how do you get that across to the participants so that they are respectful of that?
4. How will participants be entering the room? All together or at different times?
5. Do you need a place for art to dry? or for it to be stored until it is picked up on the way out?
What do I need to keep in mind?
Adults always sit down anyway even if the seats are for kids, kindly ask adults to give their seat to a child and they will most likely have no problem.
Remind families to clean up after themselves and that many people are sharing the supplies and space. Most people do not clean up after themselves unless asked/reminded.
How many people do I need to help me?
Depending on how participants are entering the room depends on how you want to communicate directions.
If
everyone enters at the same time demos are great- but otherwise having a
greeter to stop people as they enter and give an overview of the
project. Have another person to monitor divvying out supplies and then a
floater to help as they are working.
(**Think about it like a restaurant!)
Also- most likely you don't want to run your workers into the ground.
Don't have your helpers who working with the public have to do all the set up too if they are volunteering.
Some people want to help set up but then want to participate and not guide the public. So it all works out.
Don't underestimate your students!:
I had been working with a group of fifth graders after school for the few weeks prior to this event- they were amazing helpers the night out! They knew how to do all of the projects, were familiar with the materials, and were super confident. :)
What about supplies?
I have gone to Lowe's on behalf of three different organizations and have never had my donation request turned down. Not only that but all of the staff at all of the Lowe's that I have worked with filling these donations have been sooooo friendly and accommodating.
This time I asked for a donation of wood boards or cork-board for the garden project,
and soil, gloves, and flowers for planting.
(Home Depot also gives out $25 gift certificates.)
If I have learned anything from my years of working for non-profits it's to never be afraid to ask!!
You never know who is ready and willing to help you out.
When you write a donation request letter be specific about the activity you are doing, the number of people and demographic you are serving, and what you need. Include a copy of the organization/school's tax i.d. information.
Art truly brings people together. It is humbling and empowering all at the same time for most participants at a public program. Having activities for families to do together is a wonderful way to build community in your school and neighborhood!
A few more pictures!
Magazine collage flowers made by groups of first graders:


.JPG)


.JPG)
.JPG)
.JPG)